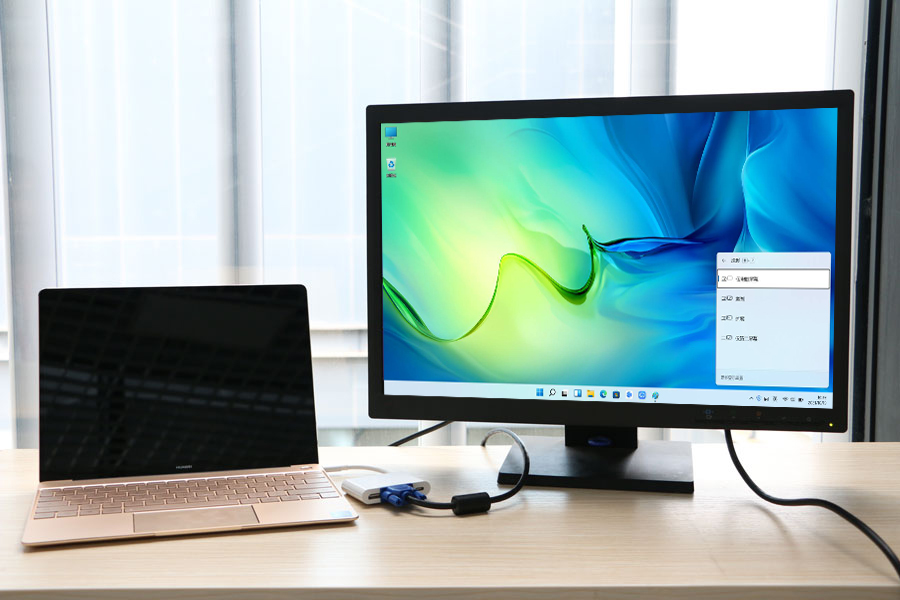
| Connecting the computer to other devices such as external displays, projectors, and TVs |
I. Wired connection
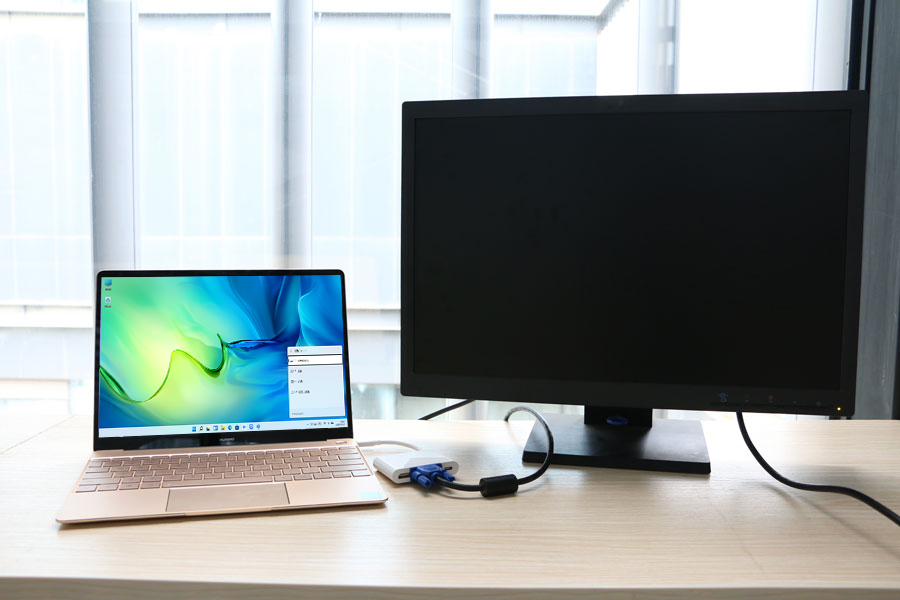
- Connect an HDMI or VGA cable to the HDMI or VGA port of an external display or projector.
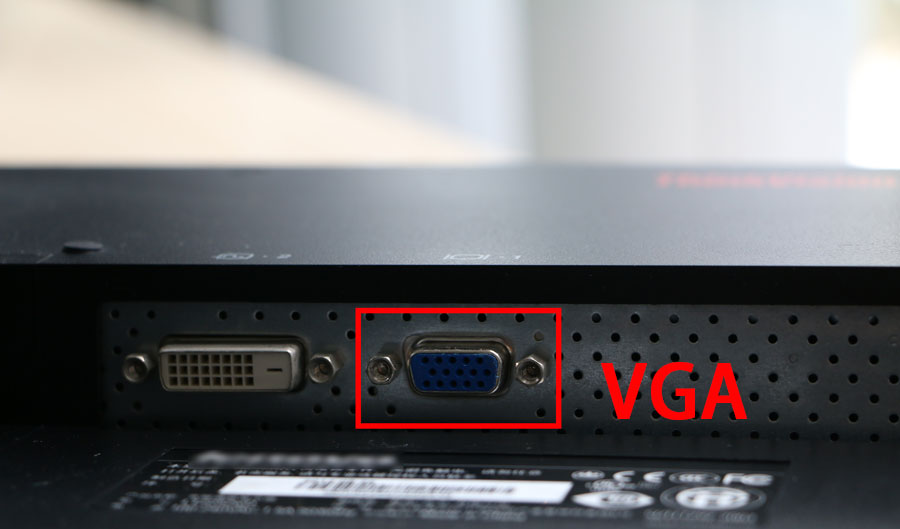
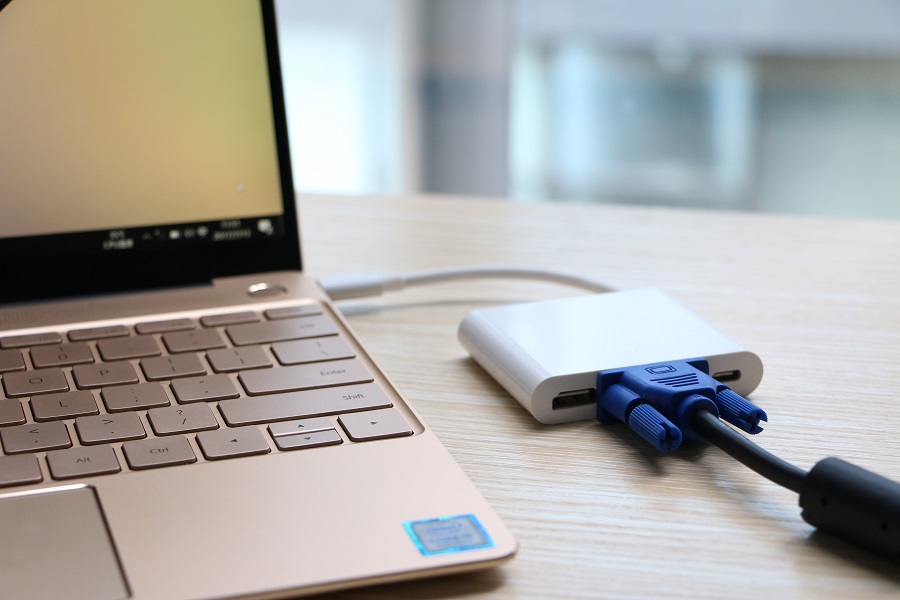
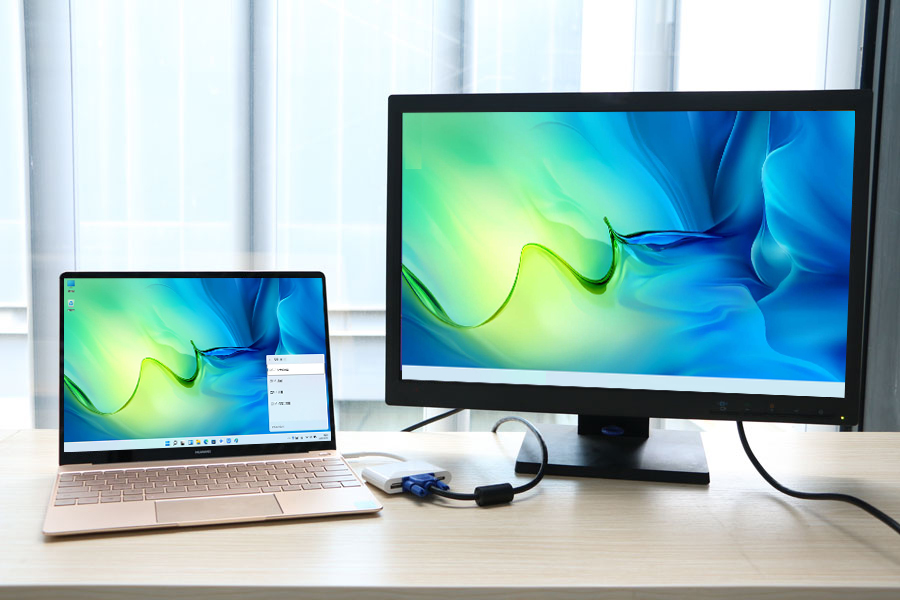
- If your computer can be connected to a docking station, connect the USB-C port that supports DisplayPort on your computer to a docking station. Connect the other end of the HDMI or VGA cable to the HDMI or VGA port of the docking station.
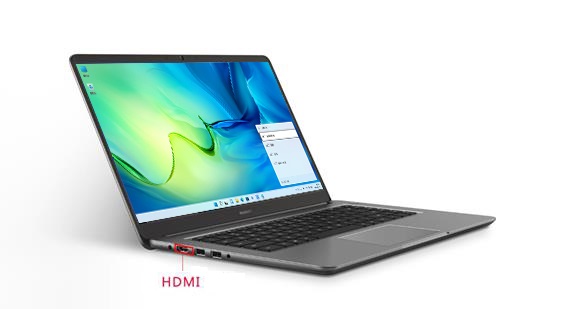
If your computer comes with an HDMI port, use an HDMI cable to connect both devices.
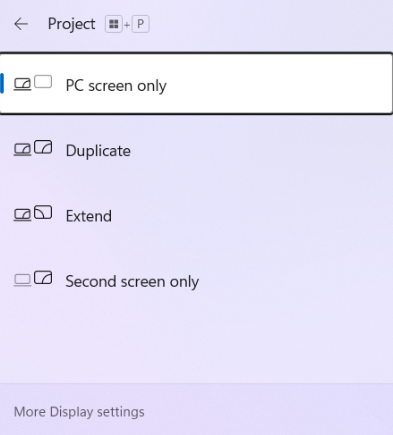
- Once connected, the external display or projector will display the same content as the computer. You can press F8 or Win + P on the computer's keyboard and select a projection mode from the Project list.
II. Wireless connection
- Follow the user guide to set up the wireless display, projector, or TV. Make sure that the devices are powered on and are visible to other devices.
Follow the user guide to set up the device, or contact the manufacturer's customer service for assistance.
- Press Win + K and select the name of the wireless display or projector from the Available displays list to connect it to your computer.
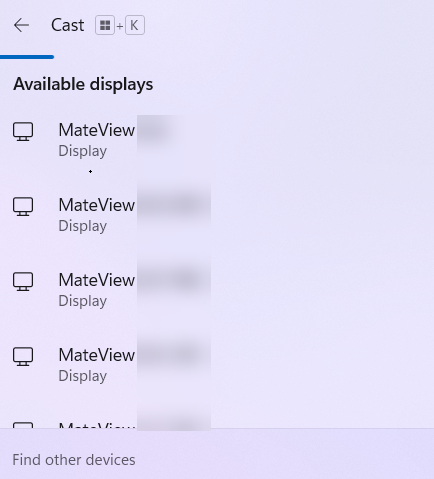
- The content on the computer screen will then be projected to the connected display. You can also change the projection mode on the Project screen.
III. Projection mode
- PC screen only: The content is displayed on the computer screen instead of the connected display. (If a wireless projector is connected to the computer, this option will be displayed as Disconnect.)
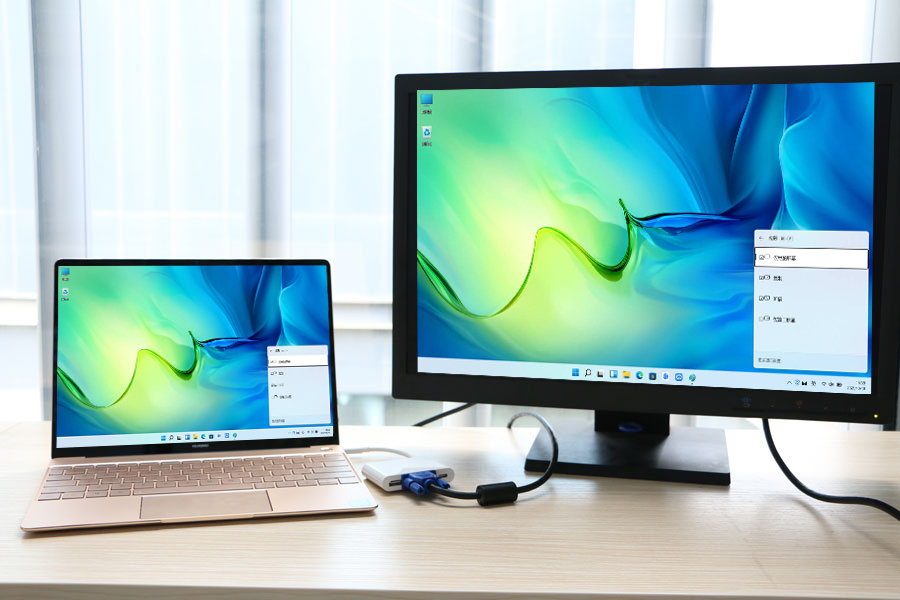
- Duplicate: The content is displayed on both the computer screen and the connected display.
- Extend: The display on your computer will appear as normal, but the connected display will only show the basic system setup. To display content (such as an app) from the computer, drag it to the other screen. The displays are separate from each other in this mode.
- Second screen only: All the contents are displayed on the connected display instead of the computer.
